How to Add, Trim, Split, and Delete Clips in Alight Motion – Expert Editing Techniques 2026
Editing clips is the foundation of any video project. Every clean and professional edit depends on how well you manage your clips on the timeline. If clips are not handled properly, even good footage can look unorganized and confusing. In Alight Motion clip editing is simple once you understand the basic actions. You need to know how to add clips, trim unwanted parts, split clips at the right moment, and delete what you do not need.
These four actions give you full control over your timeline. They help you shape your video, improve flow, and keep everything clean and structured. In this guide, you will learn each step in a clear and practical way so you can edit clips confidently and create better videos without confusion.
You may also like: Keyframing in Alight Motion

Understanding Clips in Alight Motion
A clip is any media you place on the timeline. This can be a video image or audio file. Each clip appears as a separate layer that you can move, adjust or edit independently. The timeline is where everything comes together. It shows when each clip appears and how long it stays on screen. By arranging clips properly, you control the sequence of your video. Each clip works independently. This means you can edit one clip without affecting others.
You can trim one layer, split another, or delete a different one without disturbing the rest of your project. Managing clips properly keeps your timeline clean. It also makes editing faster because you always know where everything is placed. Once you understand how clips behave on the timeline, the rest of the editing process becomes much easier.
Difference Between Trim, Split and Delete
Before editing clips, it is important to understand what each action actually does. Many beginners confuse these terms, which leads to mistakes on the timeline. Trimming means shortening a clip from the beginning or the end. You remove unwanted parts without breaking the clip into pieces. This is useful when you want to clean extra footage at the start or finish.
Splitting means cutting a clip into two separate parts at a specific point. After splitting, both parts can be edited independently. This is helpful when you want to remove a section from the middle or apply different changes to each part. Deleting means removing a clip completely from the timeline. The clip disappears from your project but stays safe in your device storage. Each action has a different purpose. Trimming cleans the edges, splitting gives control over sections, and deleting removes unnecessary content. Understanding this difference helps you edit more accurately and avoid confusion.
How to Add Clips?
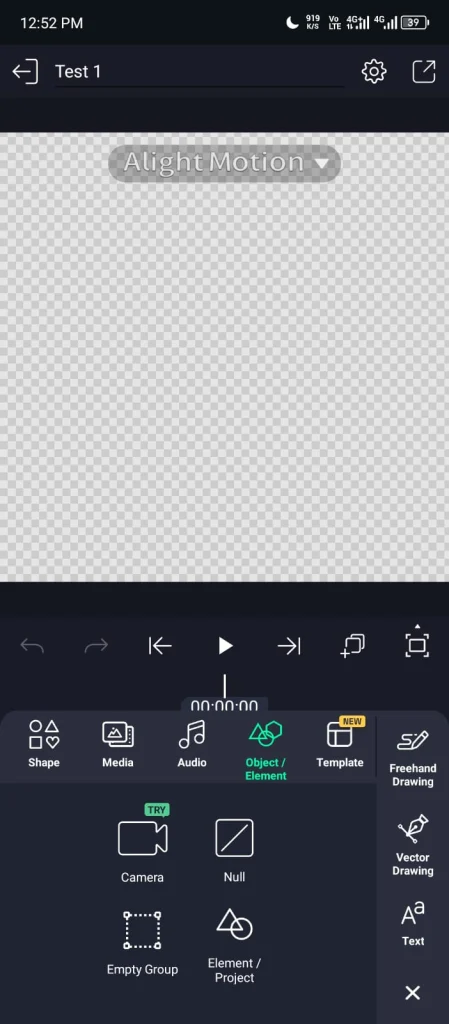
Adding clips is the first step in any project. This is where your raw content enters the timeline and becomes ready for editing. Start by creating or opening your project. Once inside the editing screen, look for the add option in the timeline area. Tap it and choose the type of media you want to import such as video image or audio.
After selecting your file, it will appear on the timeline as a new layer. The length of the clip shows its duration. You can move it left or right to control when it starts. If you want to use multiple clips, add them one by one. Each clip will appear as a separate layer which makes editing easier later.
You can also arrange clips based on your sequence. Place them in order so your video flows naturally from one clip to the next. Adding clips correctly sets the base of your entire edit. If your timeline is organized from the beginning, the rest of the process becomes much smoother.
How to Trim Clips?
Trimming helps you remove unwanted parts from the beginning or end of a clip. This is usually the first step after adding media to the timeline. Select the clip you want to edit. You will see handles at both ends of the clip. These handles control how much of the clip is visible.
Drag the left handle inward to remove the starting portion. Drag the right handle inward to cut the ending part. As you adjust, the preview updates so you can see the exact change. Move slowly while trimming. Small adjustments give better control and help you avoid cutting important moments.
If you trim too much, you can drag the handle back to restore the hidden part. The original clip remains safe during editing. After trimming, preview the clip once to make sure the timing feels correct. Clean trimming makes your video look more polished and keeps only the important content.
How to Split Clips?
Splitting allows you to cut a clip into separate parts. This gives you control over specific sections without affecting the entire clip. Select the clip on the timeline. Then move the playhead to the exact point where you want to make the cut. Accuracy matters here, so place it carefully.
Once positioned, use the split option from the toolbar. The clip will break into two parts at that point. Both parts will stay on the timeline as separate segments. Now you can edit each part independently. You can move them, trim them, apply effects, or delete one of them if needed.
Learn about How to Copy & Add Effects?
This method is useful when you want to remove a section from the middle or apply different changes to different parts of the same clip. Splitting gives you more control and flexibility, especially when working on detailed edits.
How to Delete Clips?
Deleting is used when you want to remove a clip completely from the timeline. This helps you clean your project and keep only the necessary content. Select the clip you want to remove. Once selected, look for the delete option in the toolbar. Tap it and the clip will be removed instantly.
The clip is only removed from your project. It is not deleted from your device, so you can always import it again if needed. If you are working with multiple clips, remove them one by one. This keeps your timeline organized and prevents confusion. Deleting unwanted clips is important for maintaining a clean workflow. It helps you focus only on the clips that matter in your final video.
Best Workflow for Editing Clips
A clean workflow makes editing faster and more controlled. Instead of jumping between tools, follow a simple order that keeps your timeline organized. Start by adding all the clips you need. Place them in sequence so your video has a clear structure from the beginning.
Learn about the Basic Tools in Alight Motion
Next, trim each clip. Remove unwanted parts from the start and end. This step cleans your footage and keeps only useful content. After that, use splitting where needed. Cut clips at specific points to remove middle sections or prepare for transitions and effects.
Finally, delete anything that is not required. Remove extra clips or unused parts to keep the timeline clean. Following this order keeps your editing process smooth. It also reduces mistakes and helps you stay focused on creating a well structured video.
Tips for Better Clip Editing
Good editing depends on control and clarity. Small improvements in how you handle clips can make a big difference in the final result.
Common Mistakes to Avoid
Many beginners make small mistakes that affect the quality of their edits. Fixing these issues can instantly improve your results.
Pro Tips for Cleaner Editing
Once you understand the basics, a few smart habits can improve your editing quality and speed.
Final Words
Clip editing becomes easy once you understand the core actions. Adding clips builds your timeline, trimming removes unwanted edges, splitting gives control over specific sections, and deleting keeps everything clean. These steps are simple but very powerful when used correctly. The difference between a rough edit and a polished one often comes down to how well you handle these basics. Focus on keeping your timeline organized and your edits precise. Small improvements in how you manage clips can greatly improve the final result. With regular practice, these actions will become natural and your editing workflow will feel faster and more controlled.