Keyframing in Alight Motion – How To Use Keyframes & Pro Tips
Keyframes are the foundation of animation in video editing. They control how elements move, change and behave over time. Without keyframes your edits remain static and lack visual impact.
When you understand how keyframing works you gain full control over motion. You can decide where an object starts, how it moves and where it ends. This allows you to create smooth transitions, dynamic effects and professional animations with precision. In Alight Motion keyframing tools are designed to be simple yet powerful. Even beginners can create clean animations once they understand the basic concept behind it.
In this guide you will learn how keyframing tools work step by step. You will understand how to use them properly to improve animation quality and avoid common mistakes so your edits look smooth and professional.
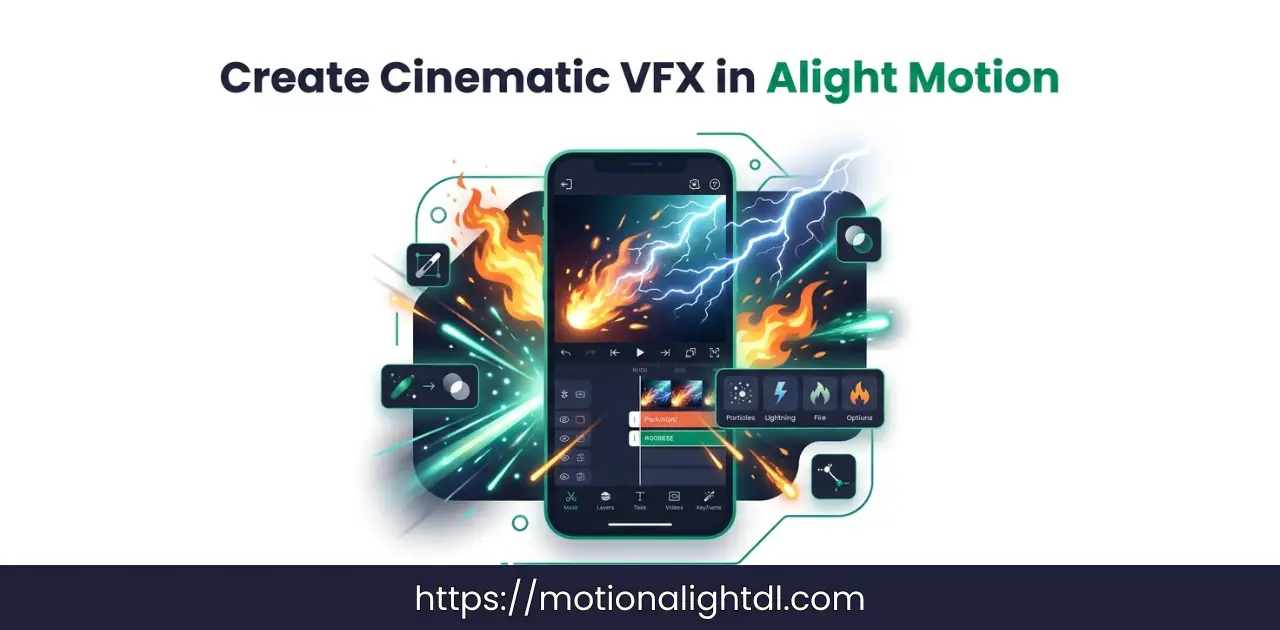
You may also like: 3D Effects in Alight Motion
Keyframing in Alight Motion?
Keyframes are points on the timeline where a change is defined. These points tell the editor what should happen at a specific moment. When two or more keyframes are added, the app creates motion between them automatically. Each keyframe stores a value. This value can be position scale rotation opacity or any other property. When the value changes between two keyframes, movement is created.
For example, if an object starts on the left side and you set another keyframe on the right side, the object will move across the screen. You do not need to animate every frame manually. The system handles everything between those points. Keyframes are not just about movement. They also control how an element appears, changes or disappears over time. This makes them useful for transition effects and visual storytelling.
The main idea is simple. You define key moments and the animation happens between them. Once you understand this concept, creating motion becomes much easier and more controlled.
How Keyframes Work
To use keyframes properly you need to understand what happens between them. A keyframe only marks a point. The real motion happens in the space between two keyframes. When you set the first keyframe, you define the starting state. When you set another keyframe later, you define the ending state. The system then creates a smooth transition between these two points.
This process is called interpolation. It means the app calculates all the small steps needed to move from one value to another. You do not see these steps, but they are what create smooth motion. The timeline plays an important role here. The distance between keyframes decides the speed of animation. If keyframes are close together, the movement is fast. If they are far apart, the movement becomes slower.
Another important factor is how the motion behaves. By default, movement is usually linear, which means constant speed. Later you can control this behavior using easing and curves to make animation feel more natural. Once you understand how keyframes interact with the timeline and interpolation, you gain better control over timing and motion.
Types of Keyframes
Not all keyframes behave the same way. Different types control how motion happens between two points. Understanding these types helps you create smoother and more natural animations.
How to Add Keyframes in Alight Motion
Adding keyframes is simple once you understand the process. The goal is to define a starting point and an ending point, then let the animation happen between them. Follow these steps:
Now when you preview the clip, you will see smooth movement between those points. You can continue adding more keyframes to create complex motion. Each new keyframe changes how the animation behaves over time. If the result does not look right, you can move keyframes closer or further apart to adjust speed. You can also modify values until the motion feels correct. With practice, placing keyframes becomes quick and natural. It is all about controlling where motion starts and how it ends.
Basic Properties You Can Animate
Keyframes become powerful when you apply them to different properties. Each property controls a specific type of change in your animation.
These properties can also be combined. For example, you can move, scale and rotate an object at the same time to create more dynamic motion. The key is to keep your changes controlled. Simple combinations often look better than complex and random animations.
Graph and Curve Editor
The graph editor gives you deeper control over your animation. Instead of just setting keyframes, you can control how fast or slow the motion happens at every point. The graph shows how a value changes over time. A straight line means constant speed. A curved line means the speed is changing during the animation.
When the curve is steep, the movement is fast. When it is flat, the movement slows down. By adjusting this curve, you can shape the motion exactly the way you want. This is where easing becomes more precise. Instead of using preset options, you can manually adjust the curve to create custom motion.
For example, you can make an object move quickly at the start and then slow down smoothly at the end. You can also create sharp movements or soft transitions depending on the curve shape. The graph editor may seem complex at first, but it gives full control over animation timing. Once you understand how curves affect motion, your animations will look much more refined and professional.
Advanced Keyframing Techniques
Once you understand the basics, you can use advanced techniques to make your animations more dynamic and natural. These methods focus on improving motion quality rather than adding complexity.
Advanced techniques are about control and precision. Small changes in timing and motion can turn a basic animation into something much more polished.
Animating Effects with Keyframes
Keyframes are not limited to position or movement. You can also animate effects to create more dynamic visuals. This allows your edits to feel alive instead of static. Many effects support keyframing. You can change their values over time to create smooth transitions.
Animating effects adds depth to your video. Instead of applying a static effect, you control how it behaves over time. Keep changes controlled. Subtle effect animation often looks more professional than strong and sudden changes.
Keyframes with Masking
Masking becomes much more powerful when combined with keyframes. It allows you to control exactly which part of a layer is visible and how it changes over time. A mask defines a specific area. Everything inside the mask is visible while the rest is hidden. When you animate the mask using keyframes, that visible area can move, expand or change shape.
This is useful for creating reveal effects. For example, you can slowly reveal text or an image by animating the mask across the screen. It creates a clean and controlled transition. You can also use masking to focus attention on a specific part of the scene. By animating the mask, you guide the viewer’s eye without adding heavy effects. Masking works best when used with simple motion. Overcomplicating it can make the edit look messy. Clean and controlled masking creates smooth and professional results.
Syncing Keyframes with Audio
Syncing animation with audio makes your edits more engaging. When motion follows music or sound effects, the result feels more dynamic and intentional. Start by adding your audio track to the timeline. Look at the waveform to identify beats and peaks. These points help you decide where to place keyframes.
Move the playhead to a beat and add a keyframe. Then move forward to the next beat and change the property value. This creates motion that follows the rhythm. You can animate different properties based on sound:
Keep your timing precise. Even small delays can break the sync and make the animation feel off. Preview your animation multiple times with sound. Adjust keyframes until the motion matches the audio perfectly. When done correctly, audio synced animation feels smooth and visually satisfying.
Common Mistakes to Avoid
Many animations fail not because of lack of tools but because of poor control. Avoiding these mistakes will instantly improve your results.
Pro Tips for Better Animation
Strong animation comes from control and clarity. These practical tips will help you improve quality without making your workflow complicated.
Final Words
Keyframing is the core of animation. It gives you full control over how elements move, change and behave over time. Once you understand how keyframes work, creating smooth and professional motion becomes much easier. By learning how to place keyframes correctly, adjust timing and use easing, you can improve the quality of your edits significantly. You do not need complex techniques to get good results. Simple and controlled motion always works best. As you continue practicing, your understanding of timing and movement will improve. Over time, you will be able to create more refined and engaging animations with confidence. Strong fundamentals lead to better animation.